OpenCV understanding erode and dilate
A closer look at dilate and erode
Erode and Dilate are both morphological operations, meaning the perform simple transformations based on image shape. Erode and Dilate both required the base image, and a kenel shape.
Both functions act as a base for many other operations in computer vision. They are often used to remove noise and isolate or remove elements in images.
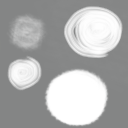
Here is the first test image we will be using for this example.
Required packages and some basic helper functions
# used for drawing image in jupyter notebook
import matplotlib.pyplot as plt
# load opencv and numpy
import cv2
import numpy as np

def gray2rgb(im):
    return cv2.cvtColor(im, cv2.COLOR_GRAY2BGR)

def find_thresholds(im):
    _, th1 = cv2.threshold(im, 20, 255, cv2.THRESH_BINARY)
    _, th2 = cv2.threshold(im, 80, 255, cv2.THRESH_BINARY)
    _, th3 = cv2.threshold(im, 120, 255, cv2.THRESH_BINARY)
    _, th4 = cv2.threshold(im, 160, 255, cv2.THRESH_BINARY)
    _, th5 = cv2.threshold(im, 200, 255, cv2.THRESH_BINARY)
    th6 = cv2.adaptiveThreshold(im,255,cv2.ADAPTIVE_THRESH_MEAN_C,cv2.THRESH_BINARY,11,2)
    th7 = cv2.adaptiveThreshold(im,255,cv2.ADAPTIVE_THRESH_GAUSSIAN_C,cv2.THRESH_BINARY,11,2)
    _,th8 = cv2.threshold(im,0,255,cv2.THRESH_BINARY+cv2.THRESH_OTSU)
    return [th4,th5,th6,th7,th8]

def find_contours(im):
    im_color = gray2rgb(im)
    contours, hierarchy = cv2.findContours(im, cv2.RETR_TREE, cv2.CHAIN_APPROX_SIMPLE)
    cv2.drawContours(im_color, contours, -1, (255,0,0), 1)
    return im_color
    pass

def find_circles(im):
    im_color = gray2rgb(im)
    circles = cv2.HoughCircles(im, cv2.HOUGH_GRADIENT, 1,25, param1=50,param2=30,minRadius=0,maxRadius=0)
    if circles is not None:
        circles = np.round(circles[0, :]).astype("int")
        for (x, y, r) in circles:
            cv2.circle(im_color, (x, y), r, (0, 255, 0), 1)
    return im_color

def draw_images(im_list):
    fig, axs = plt.subplots(1,len(im_list))
    fig.set_figwidth(25)
    fig.set_figheight(10)
    fig.suptitle(title,fontsize=16)
    for i in range(len(im_list)):
        axs[i].imshow(im_list[i]['image'])
    plt.show()
    pass

def draw_all(remix):
    test1 = []
    test1.append(gray2rgb(remix))
    test1.append(find_contours(remix))
    test1.append(find_circles(remix))
    thresholds = find_thresholds(remix)
    test2 = list(map(find_contours, thresholds))
    test3 = list(map(find_circles, thresholds))
    draw_images(test1 + test2 + test3)
Let's load our image and find some contours
img = cv2.imread('11-original.png',cv2.IMREAD_GRAYSCALE)

test1 = []
test1.append(gray2rgb(img))
test1.append(find_contours(img))
test1.append(find_circles(img))
draw_images(test1)
So to answer your question, yes I'm loading the image with IMREAD_GRAYSCALE and then converting back to RGB to display it. This is because all the operations are being done on GRAYSCALE image, but RGB is easier on the eyes
Might as well draw some thresholds for the image
thresholds = find_thresholds(img)
test2 = map(gray2rgb, thresholds)
draw_images(list(test2))
Okay, looking good. Now that we got the basic setup and running, let's run some tests on erode first.
The syntax is as follows
kernel = np.ones((5,5))
erosion = cv2.erode(img, kernel, iterations=1)
dilation = cv2.dilate(img, kernel, iterations=1)
Let's start with some basic square kernels.
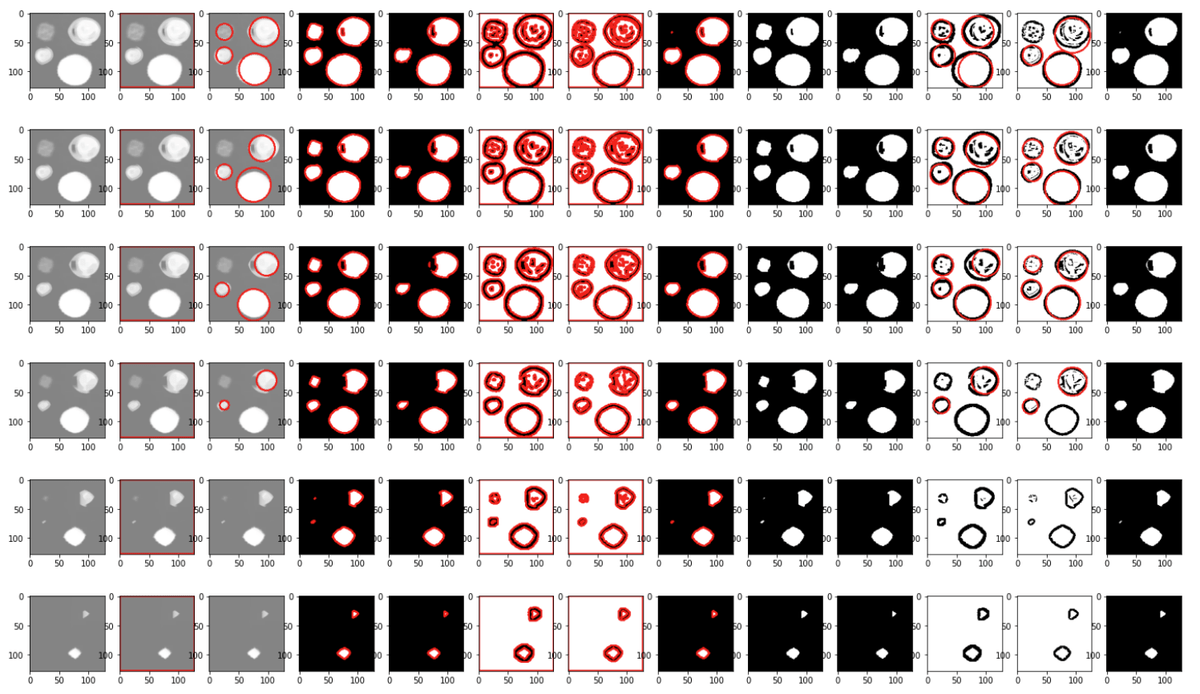
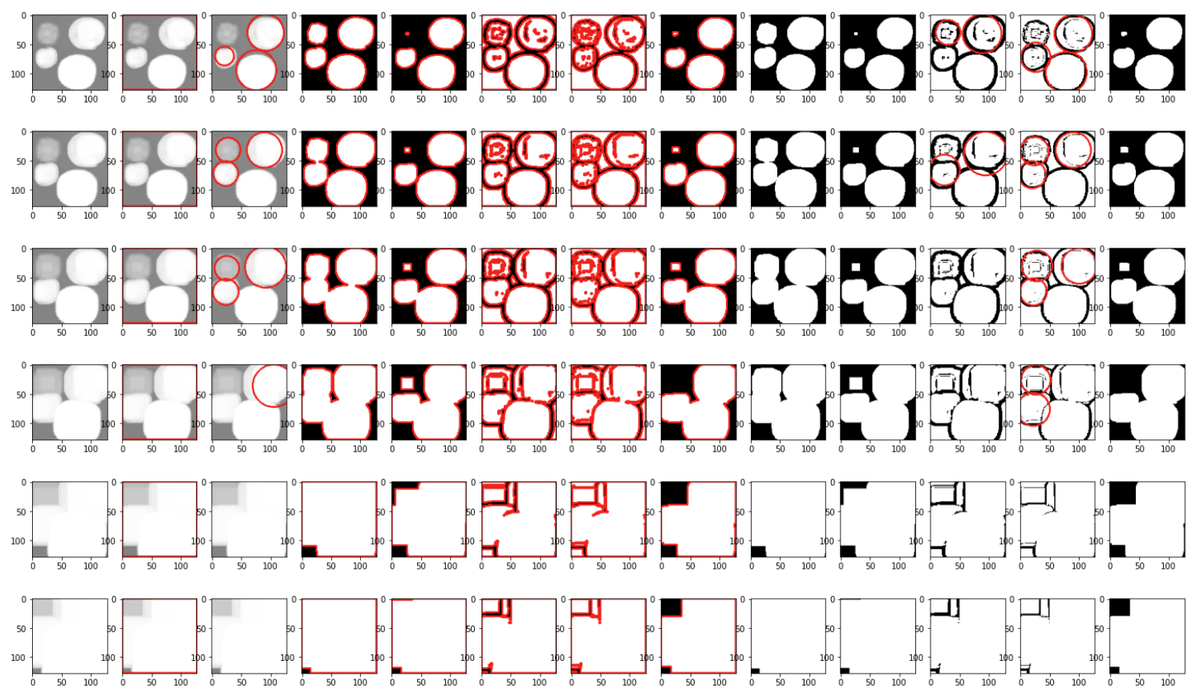
draw_all(cv2.erode(img, np.ones((3, 3))))
draw_all(cv2.erode(img, np.ones((5, 5))))
draw_all(cv2.erode(img, np.ones((7, 7))))

draw_all(cv2.erode(img, np.ones((11, 11))))
draw_all(cv2.erode(img, np.ones((21, 21))))
draw_all(cv2.erode(img, np.ones((31, 31))))
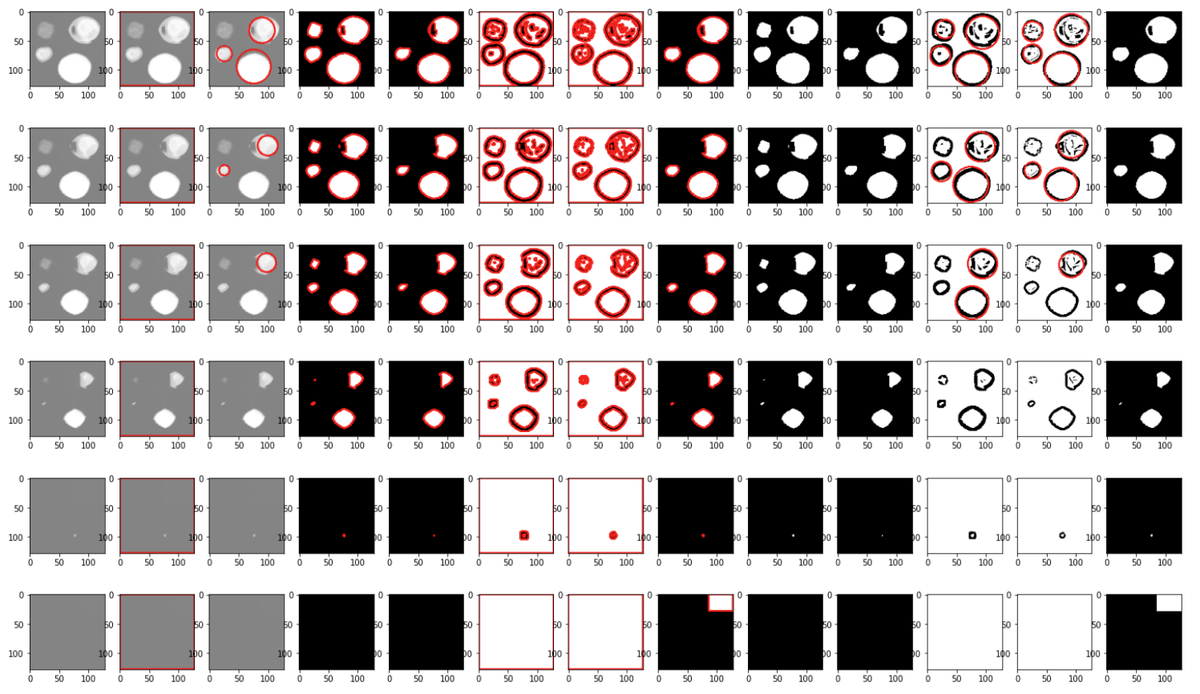
Running it with the iterations=2 parameter has quite a large effect
draw_all(cv2.erode(img, np.ones((3, 3)),iterations=2))
draw_all(cv2.erode(img, np.ones((5, 5)),iterations=2))
draw_all(cv2.erode(img, np.ones((7, 7)),iterations=2))

draw_all(cv2.erode(img, np.ones((11, 11)),iterations=2))
draw_all(cv2.erode(img, np.ones((21, 21)),iterations=2))
draw_all(cv2.erode(img, np.ones((31, 31)),iterations=2))
This is because iterations=2 literally means running it 2 times. We check this using the absdiff function in opencv
im = cv2.erode(img, np.ones((5, 5)),iterations=2)
im2 = cv2.erode(img, np.ones((5, 5)))
im3 = cv2.erode(im2, np.ones((5, 5)))

plt.imshow(cv2.absdiff(im,im3))
Now lets do the same thing with dilate
draw_all(cv2.dilate(img, np.ones((3, 3))))
draw_all(cv2.dilate(img, np.ones((5, 5))))
draw_all(cv2.dilate(img, np.ones((7, 7))))

draw_all(cv2.dilate(img, np.ones((11, 11))))
draw_all(cv2.dilate(img, np.ones((21, 21))))
draw_all(cv2.dilate(img, np.ones((31, 31))))

draw_all(cv2.dilate(img, np.ones((3, 3)),iterations=2))
draw_all(cv2.dilate(img, np.ones((5, 5)),iterations=2))
draw_all(cv2.dilate(img, np.ones((7, 7)),iterations=2))

draw_all(cv2.dilate(img, np.ones((11, 11)),iterations=2))
draw_all(cv2.dilate(img, np.ones((21, 21)),iterations=2))
draw_all(cv2.dilate(img, np.ones((31, 31)),iterations=2))
We can show that dilate does the inverse of erode like this
img = cv2.imread('original.png',cv2.IMREAD_GRAYSCALE)
_, th1 = cv2.threshold(img, 200, 255, cv2.THRESH_BINARY_INV)
_, th2 = cv2.threshold(img, 200, 255, cv2.THRESH_BINARY)
eroded = cv2.erode(th1, np.ones((15, 15)))
dilated = cv2.dilate(th2, np.ones((15, 15)))
plt.imshow(th1)
plt.show()
plt.imshow(th2)
plt.show()
plt.imshow(eroded)
plt.show()
plt.imshow(dilated)
plt.show()
Both function also work on RGB images. George W. Bush demonstrates.
img = cv2.imread('george-bush.png',cv2.IMREAD_COLOR)
img = cv2.cvtColor(img, cv2.COLOR_BGR2RGB)
eroded = cv2.erode(img, np.ones((11, 11)))
dilated = cv2.dilate(img, np.ones((11, 11)))
draw_images([img,eroded,dilated])
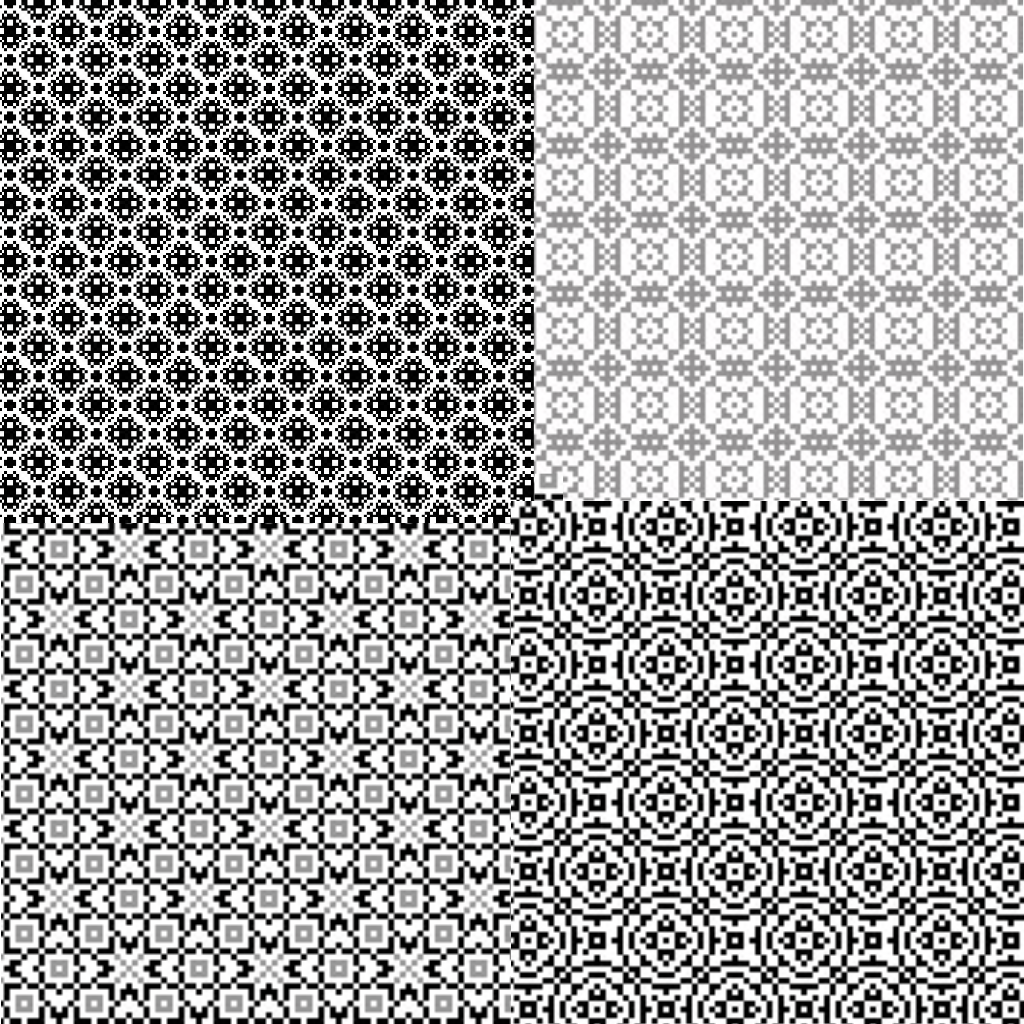
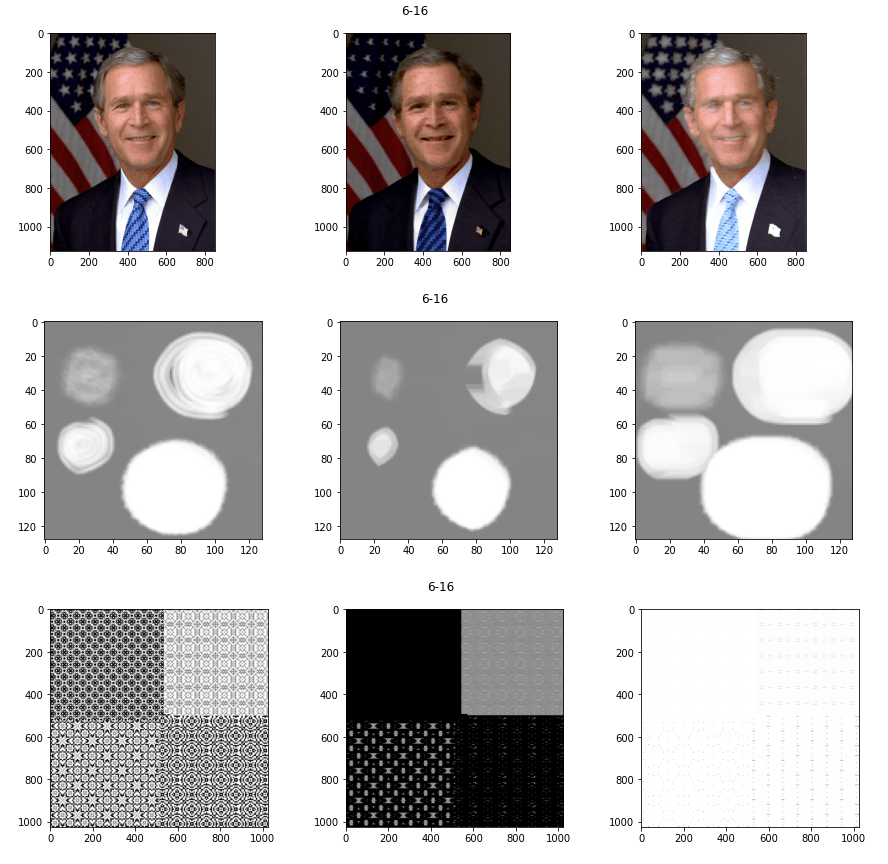
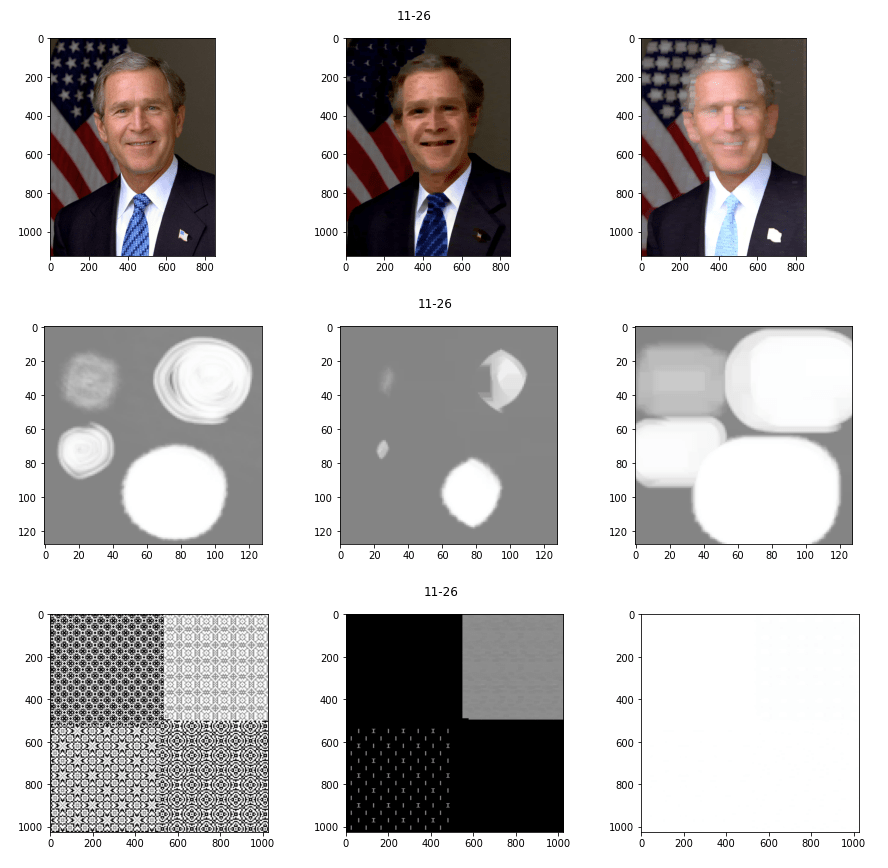
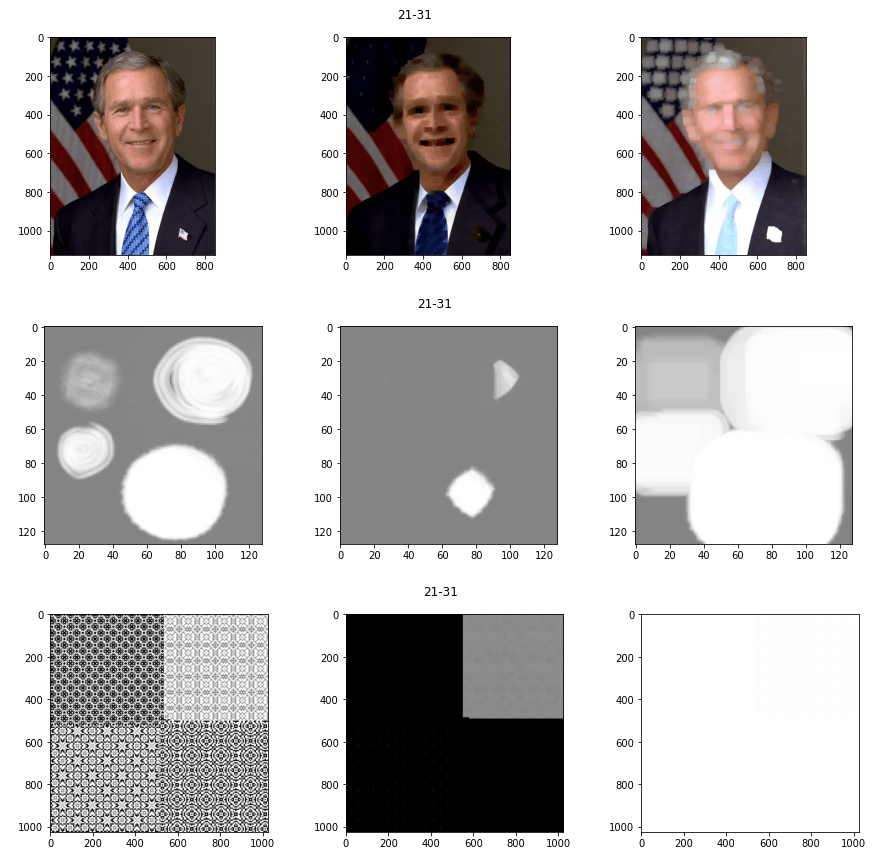
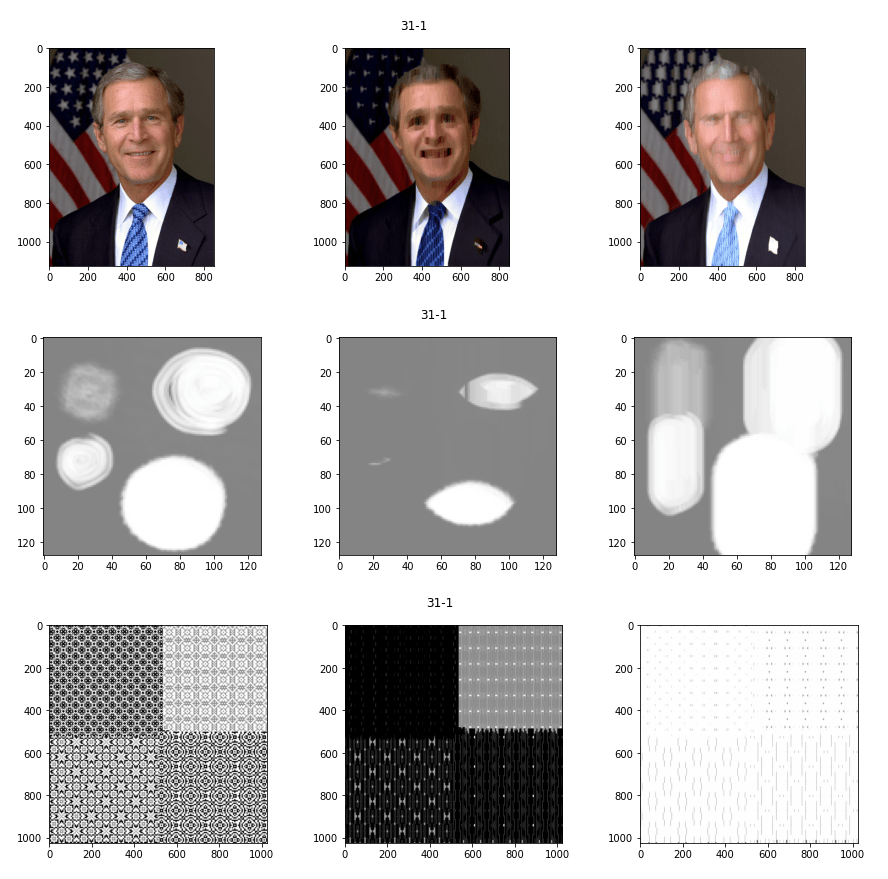
Let's try some different kernel parameters to show how they effect different images and patterns. I will be using this as the third image for tests.
The code
# used for drawing image in jupyter notebook
import matplotlib.pyplot as plt
# load opencv and numpy
import cv2
import numpy as np

def draw_images(im_list, title='Example'):
    fig, axs = plt.subplots(1,len(im_list))
    plt.suptitle(title)
    fig.set_figwidth(15)
    fig.set_figheight(4)
    for i in range(len(im_list)):
        axs[i].imshow(im_list[i])
    plt.show()
    pass

def kernel_test(img1,kernel, title):
    img1 = cv2.cvtColor(img1, cv2.COLOR_BGR2RGB)
    eroded1 = cv2.erode(img1,kernel)
    dilated1 = cv2.dilate(img1, kernel)
    draw_images([img1,eroded1,dilated1],title=title)

im_george = cv2.imread('george-bush.png',cv2.IMREAD_COLOR)
im_blobs = cv2.imread('blobs.png',cv2.IMREAD_GRAYSCALE)
im_pattern = cv2.imread('pattern.png',cv2.IMREAD_GRAYSCALE)

for x_r in range(3):
    for y_r in range(3):
        x = x_r + * 5 + 1
        y = y_r + * 5 + 1
        kernel_test(im_george, np.ones((x,y)), str(x) + "-" + str(y))
        kernel_test(im_blobs,np.ones((x,y)), str(x) + "-" + str(y))
        kernel_test(im_pattern,np.ones((x,y)), str(x) + "-" + str(y))
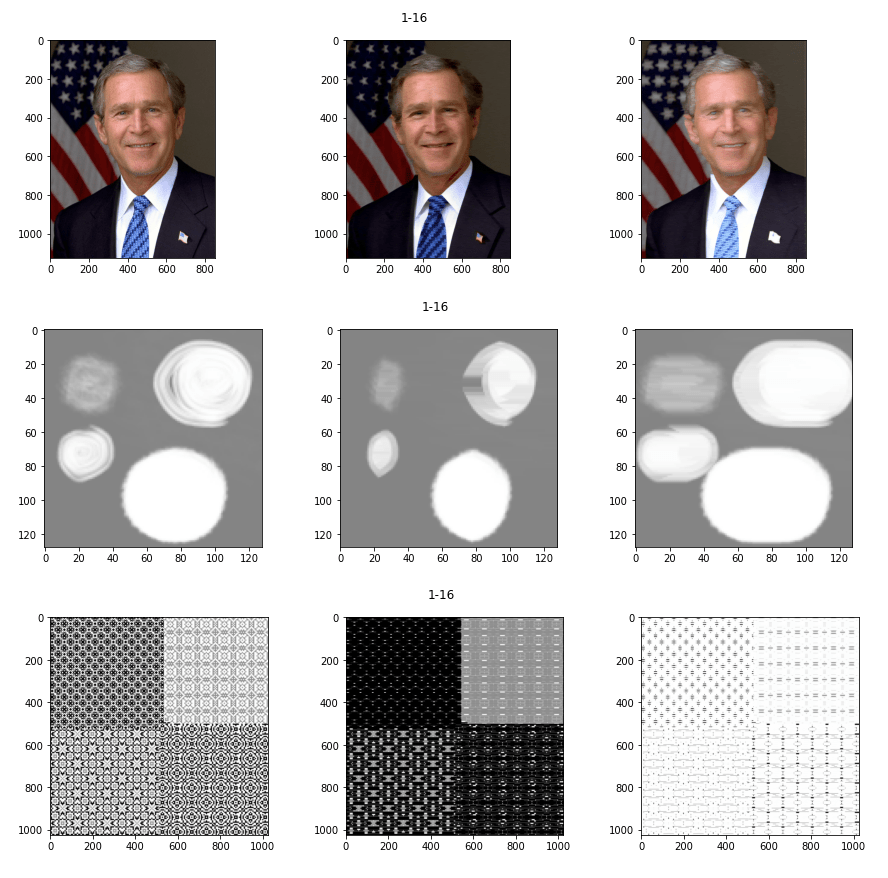
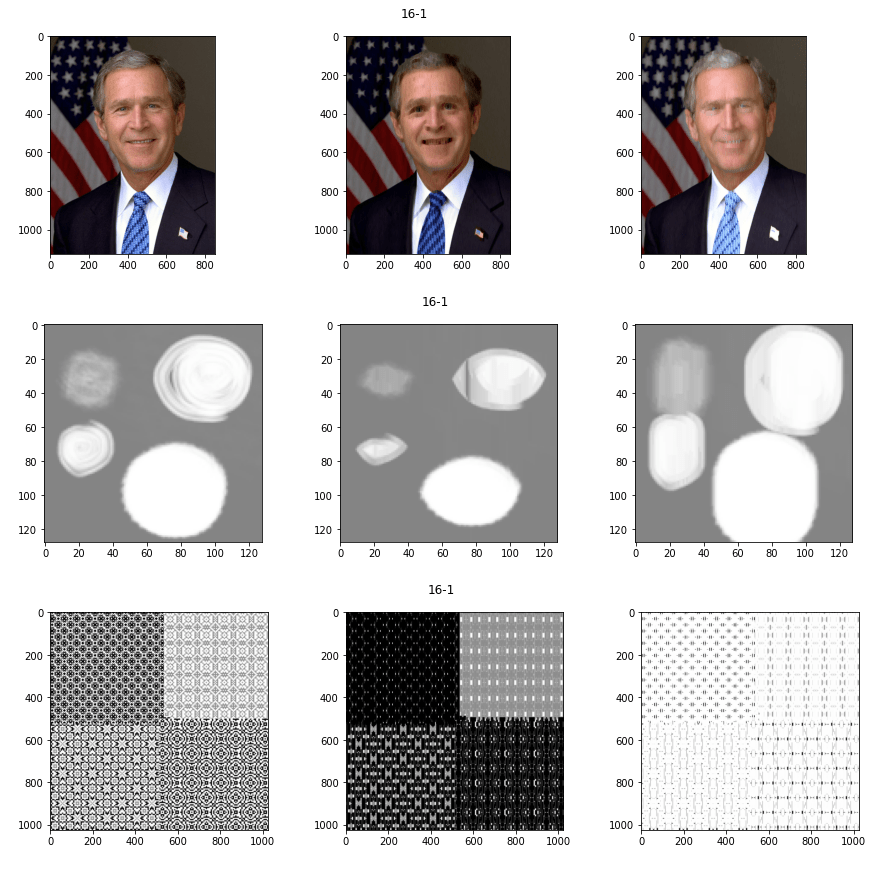
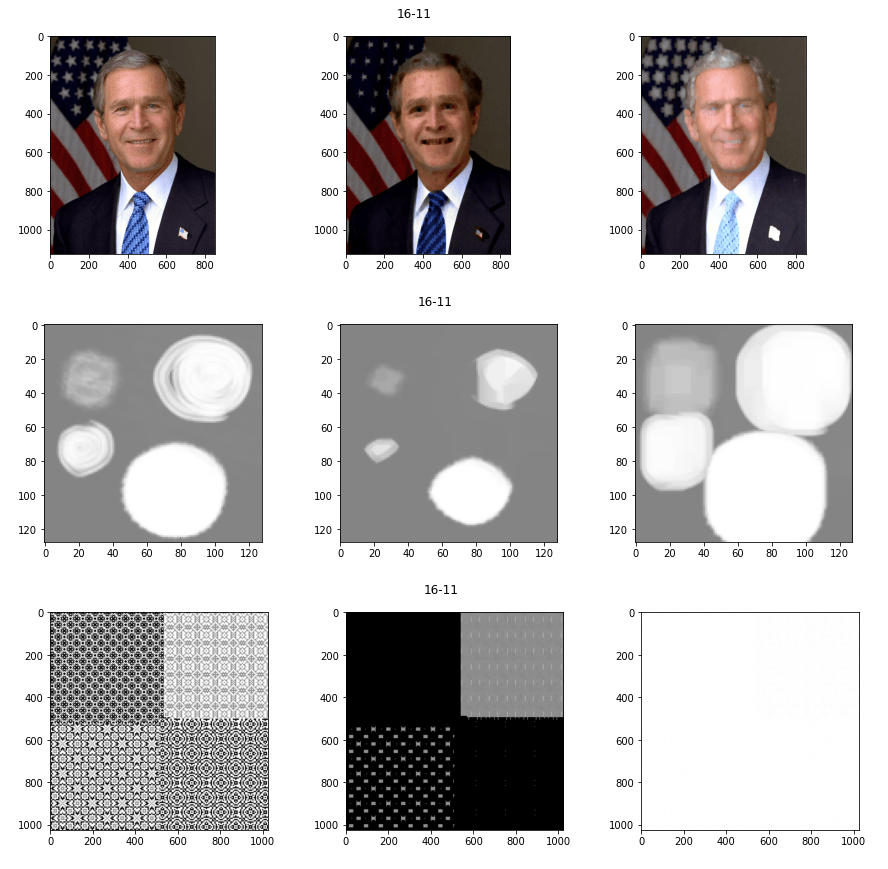
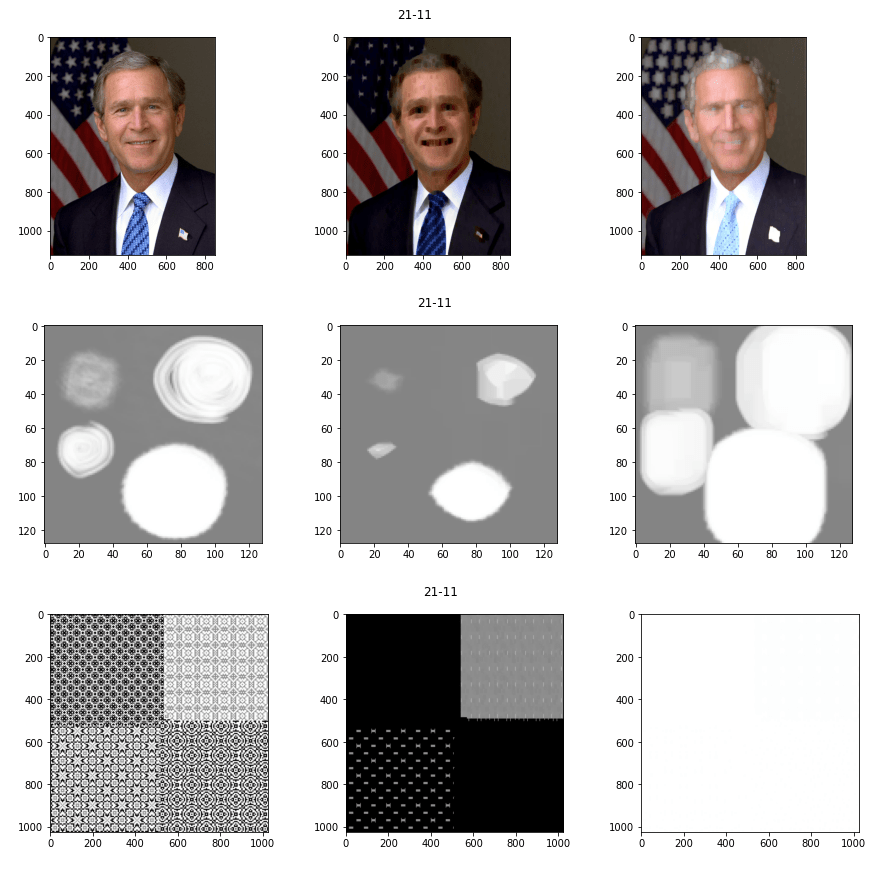
I won't show all the results here, but here are some notable examples
Kernel size (1x16) Notice the horizontal effect
Kernel size (16x1) Notice the vertical effect as opposed to the previous
A more stretched version of 16x1
Thanks for reading. Hopefully this helped you better understand Erode and Dilate functions in OpenCV

